image-protect-yourself2x.png


Moisture Is Essential
New cells grow twice as fast over wounds when they’re kept moist under a covering. Meaning cuts will heal faster when bandaged than when exposed to air.

No Scab, No Scarring
Scabs slow the healing process and increase the chance of scarring. They form little craters in tissue, forcing cells to work their way under the scab to form new healthy tissue and heal. Bandaging a wound can help reduce scabs from forming.

Reduce Infection
Keeping an injury covered with a bandage can also help protect it from bacteria, contaminants, and irritation.
1: Select Your Tape
When choosing a bandaging tape, consider things like injury type, skin sensitivities, and required activity level. See All Tapes.
2: Get the Right Gauze Pad
Gauze pads should be a half-inch larger than your wound in all directions—make sure you choose a pad that’s large enough. When in doubt, go bigger than you need and cut down to size.
3: Cut Tape & Apply to Gauze Pad
Cut tape beyond the length of the gauze pad on either side by a half-inch and apply to the pad—now it’s officially a bandage!
For fresh wounds, be sure to tape all four sides of your gauze pad to keep dirt and germs out. Reduce to two taped sides once you’ve started to heal.
4: Apply to Your Injury
After cleaning and treating your injury, apply your bandage so it’s centered over the affected area. Press down on the edges of the tape to make sure they’re firmly in place.

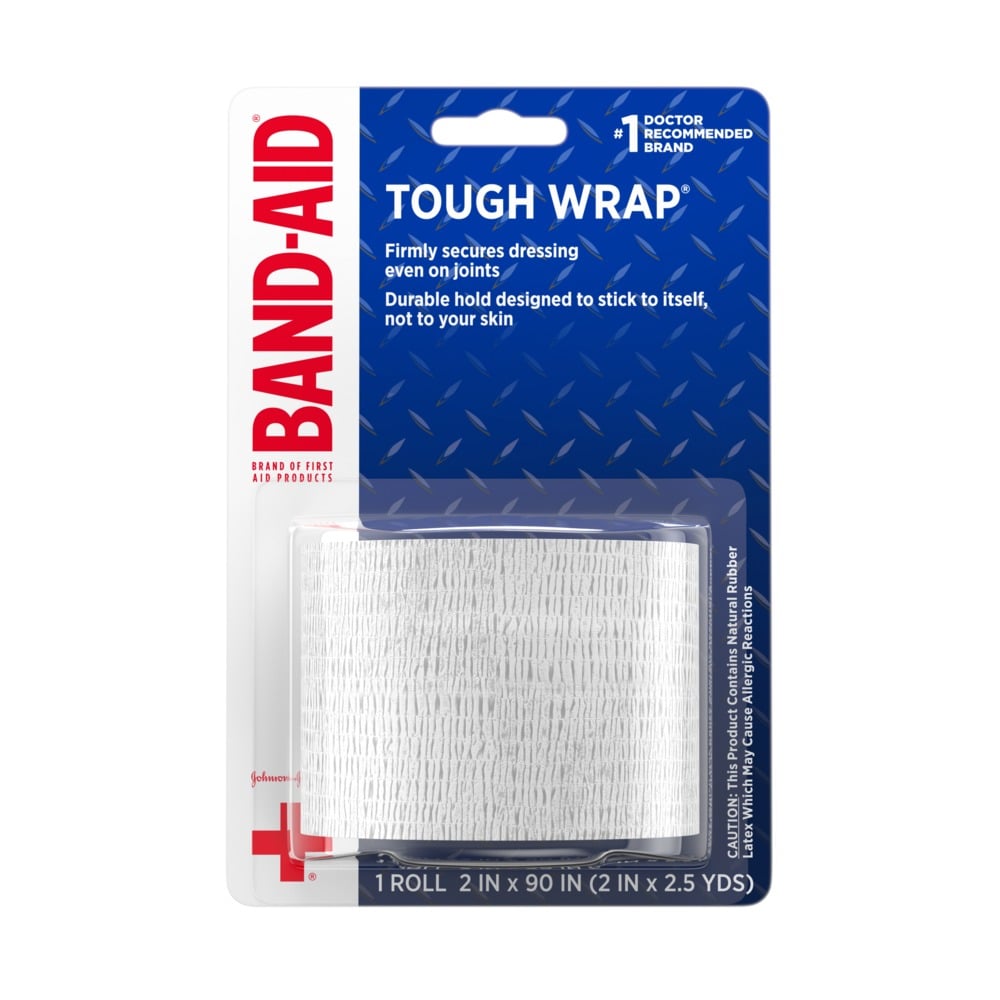
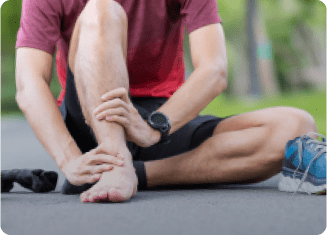
Be Flexible: How to Wrap Injuries on Joints
Injuries on or near a joint call for bandaging products that can move with you. Instead of using tape that might pull at your skin as you bend and extend, a gauze roll and self-adhering wraps are best for securing a gauze pad.
Follow these simple steps for wrapping a joint injury:
1. Properly clean and treat your injury.
2. Apply a gauze pad over your injury, making sure it’s a half-inch larger in all directions than the injured area.
3. Wrap a gauze roll around the gauze pad and injured part of your body, making sure not to wrap too tightly.
4. Secure the gauze pad and gauze roll by wrapping with a self-adhesive wrap.
Once you’ve started to heal, you can skip the gauze pad when you refresh your wound covering.

Post-Injury Follow-Up Care
Different stages of healing require different types of bandages and care. Make sure you’re changing your bandages frequently and that you’re using the right products for every stage of recovery. It’ll reduce the chance of infection and the possibility of your skin reacting to the covering.
Related Articles
1 of
FIRST AID BASICS
More Than Cuts & Scrapes
Find out how to care for a variety of everyday injuries.


FIRST AID BASICS
Follow Up & Follow Through
You’ve been treated, but there’s still more care to come.

Find the Best Bandage for the Job
Not sure which BAND-AID® Brand adhesive bandage to pick? Our Product Recommender can help you find the one that’ll do the trick.